
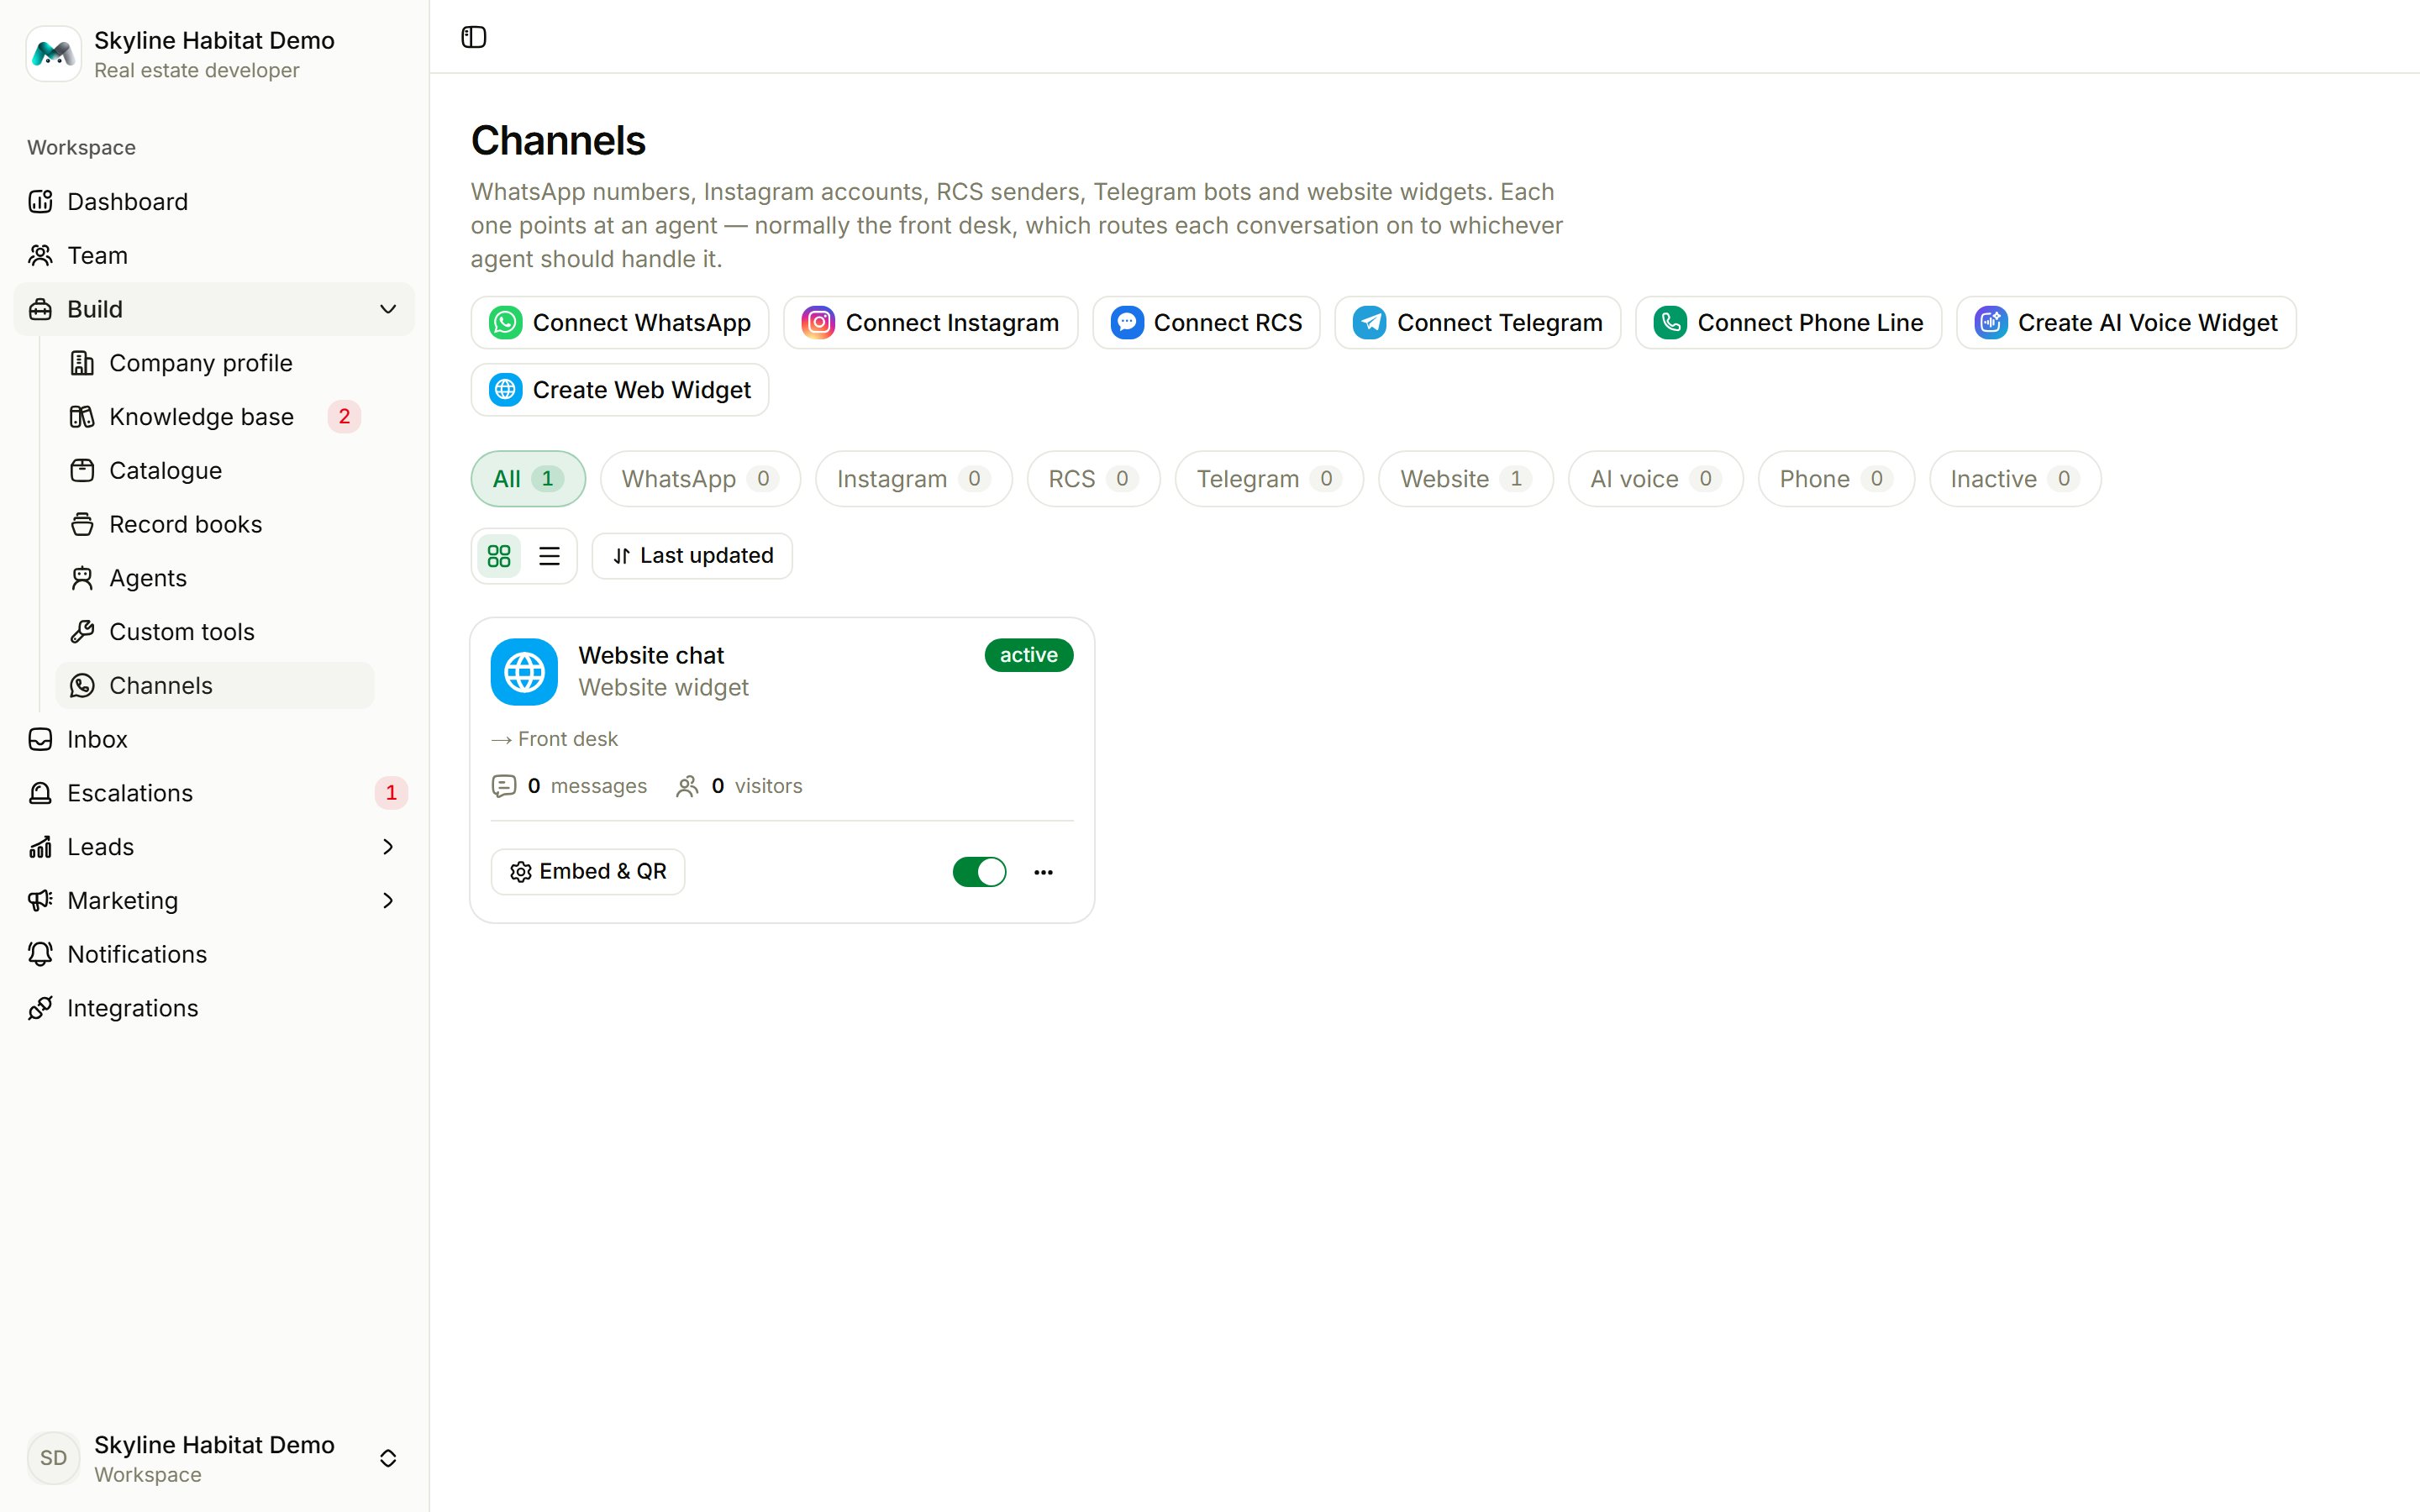
Create at least one agent before connecting a channel.
Website chat widget
The quickest channel to set up: live as soon as you paste one line onto your website.1
Choose Create Web Widget
Give it a Widget name and leave Agent that answers on the front desk unless one agent should take everything.
2
Choose how visitors give their details
In the chat: the agent asks for a name and number. Sign-in page first: a short form before the chat opens.
3
Style the button
Pick the icon, colour, position (bottom left or right), size and animation (none, pulse, bounce, wiggle or breathe), the tooltip, a Teaser bubble, and whether it opens by itself after a number of seconds. The preview updates as you go.
4
Add it to your website
Copy the Embed code from the channel card and paste it before
</body> on your site. Or share the Direct link or QR code. Later style changes reach your site within a few minutes; you don’t need to paste anything again.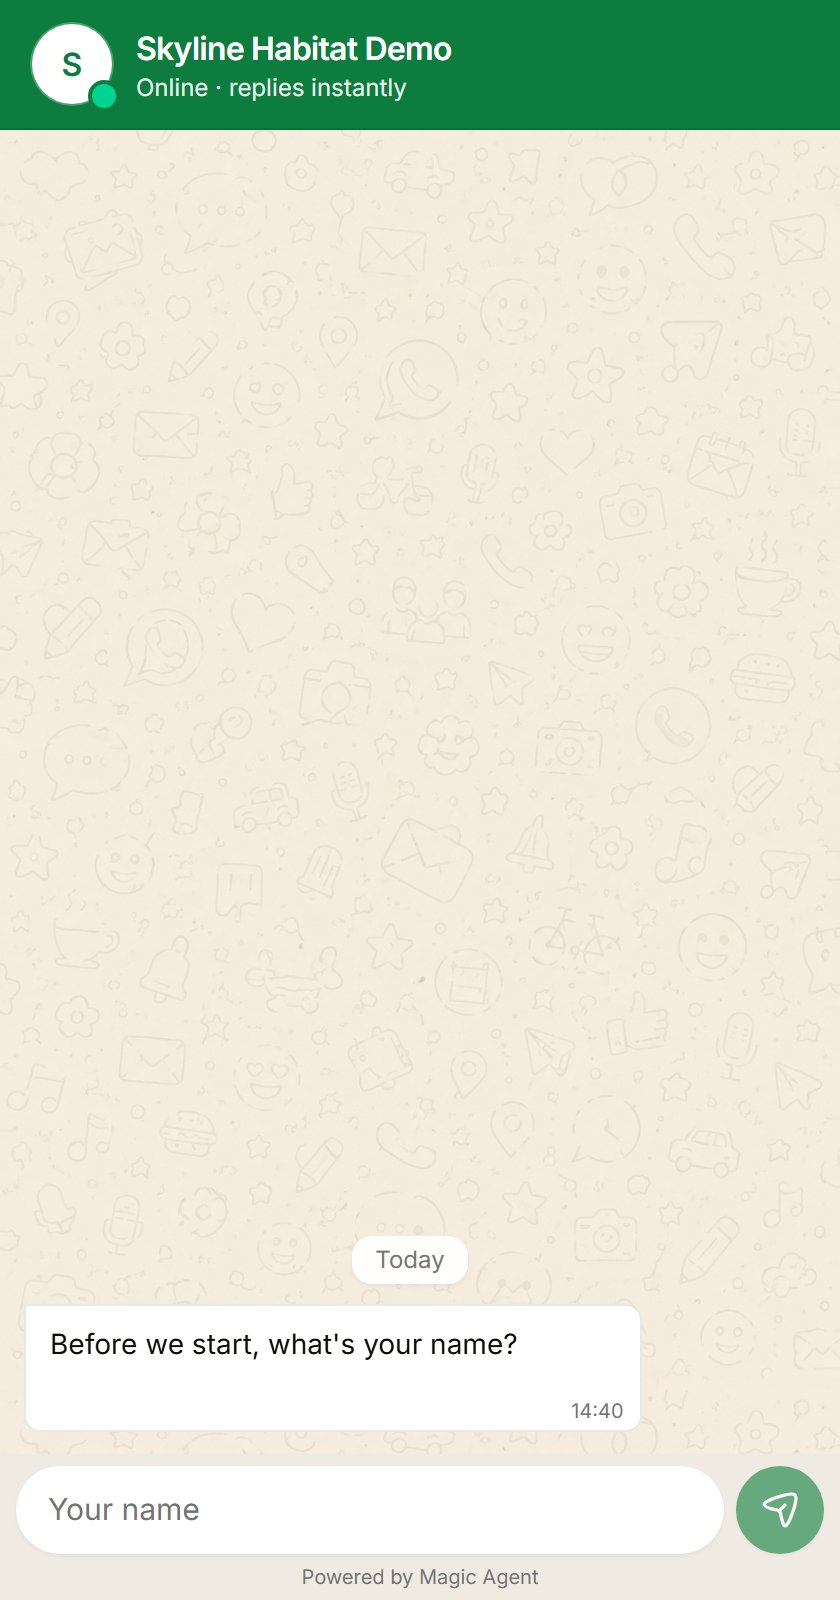
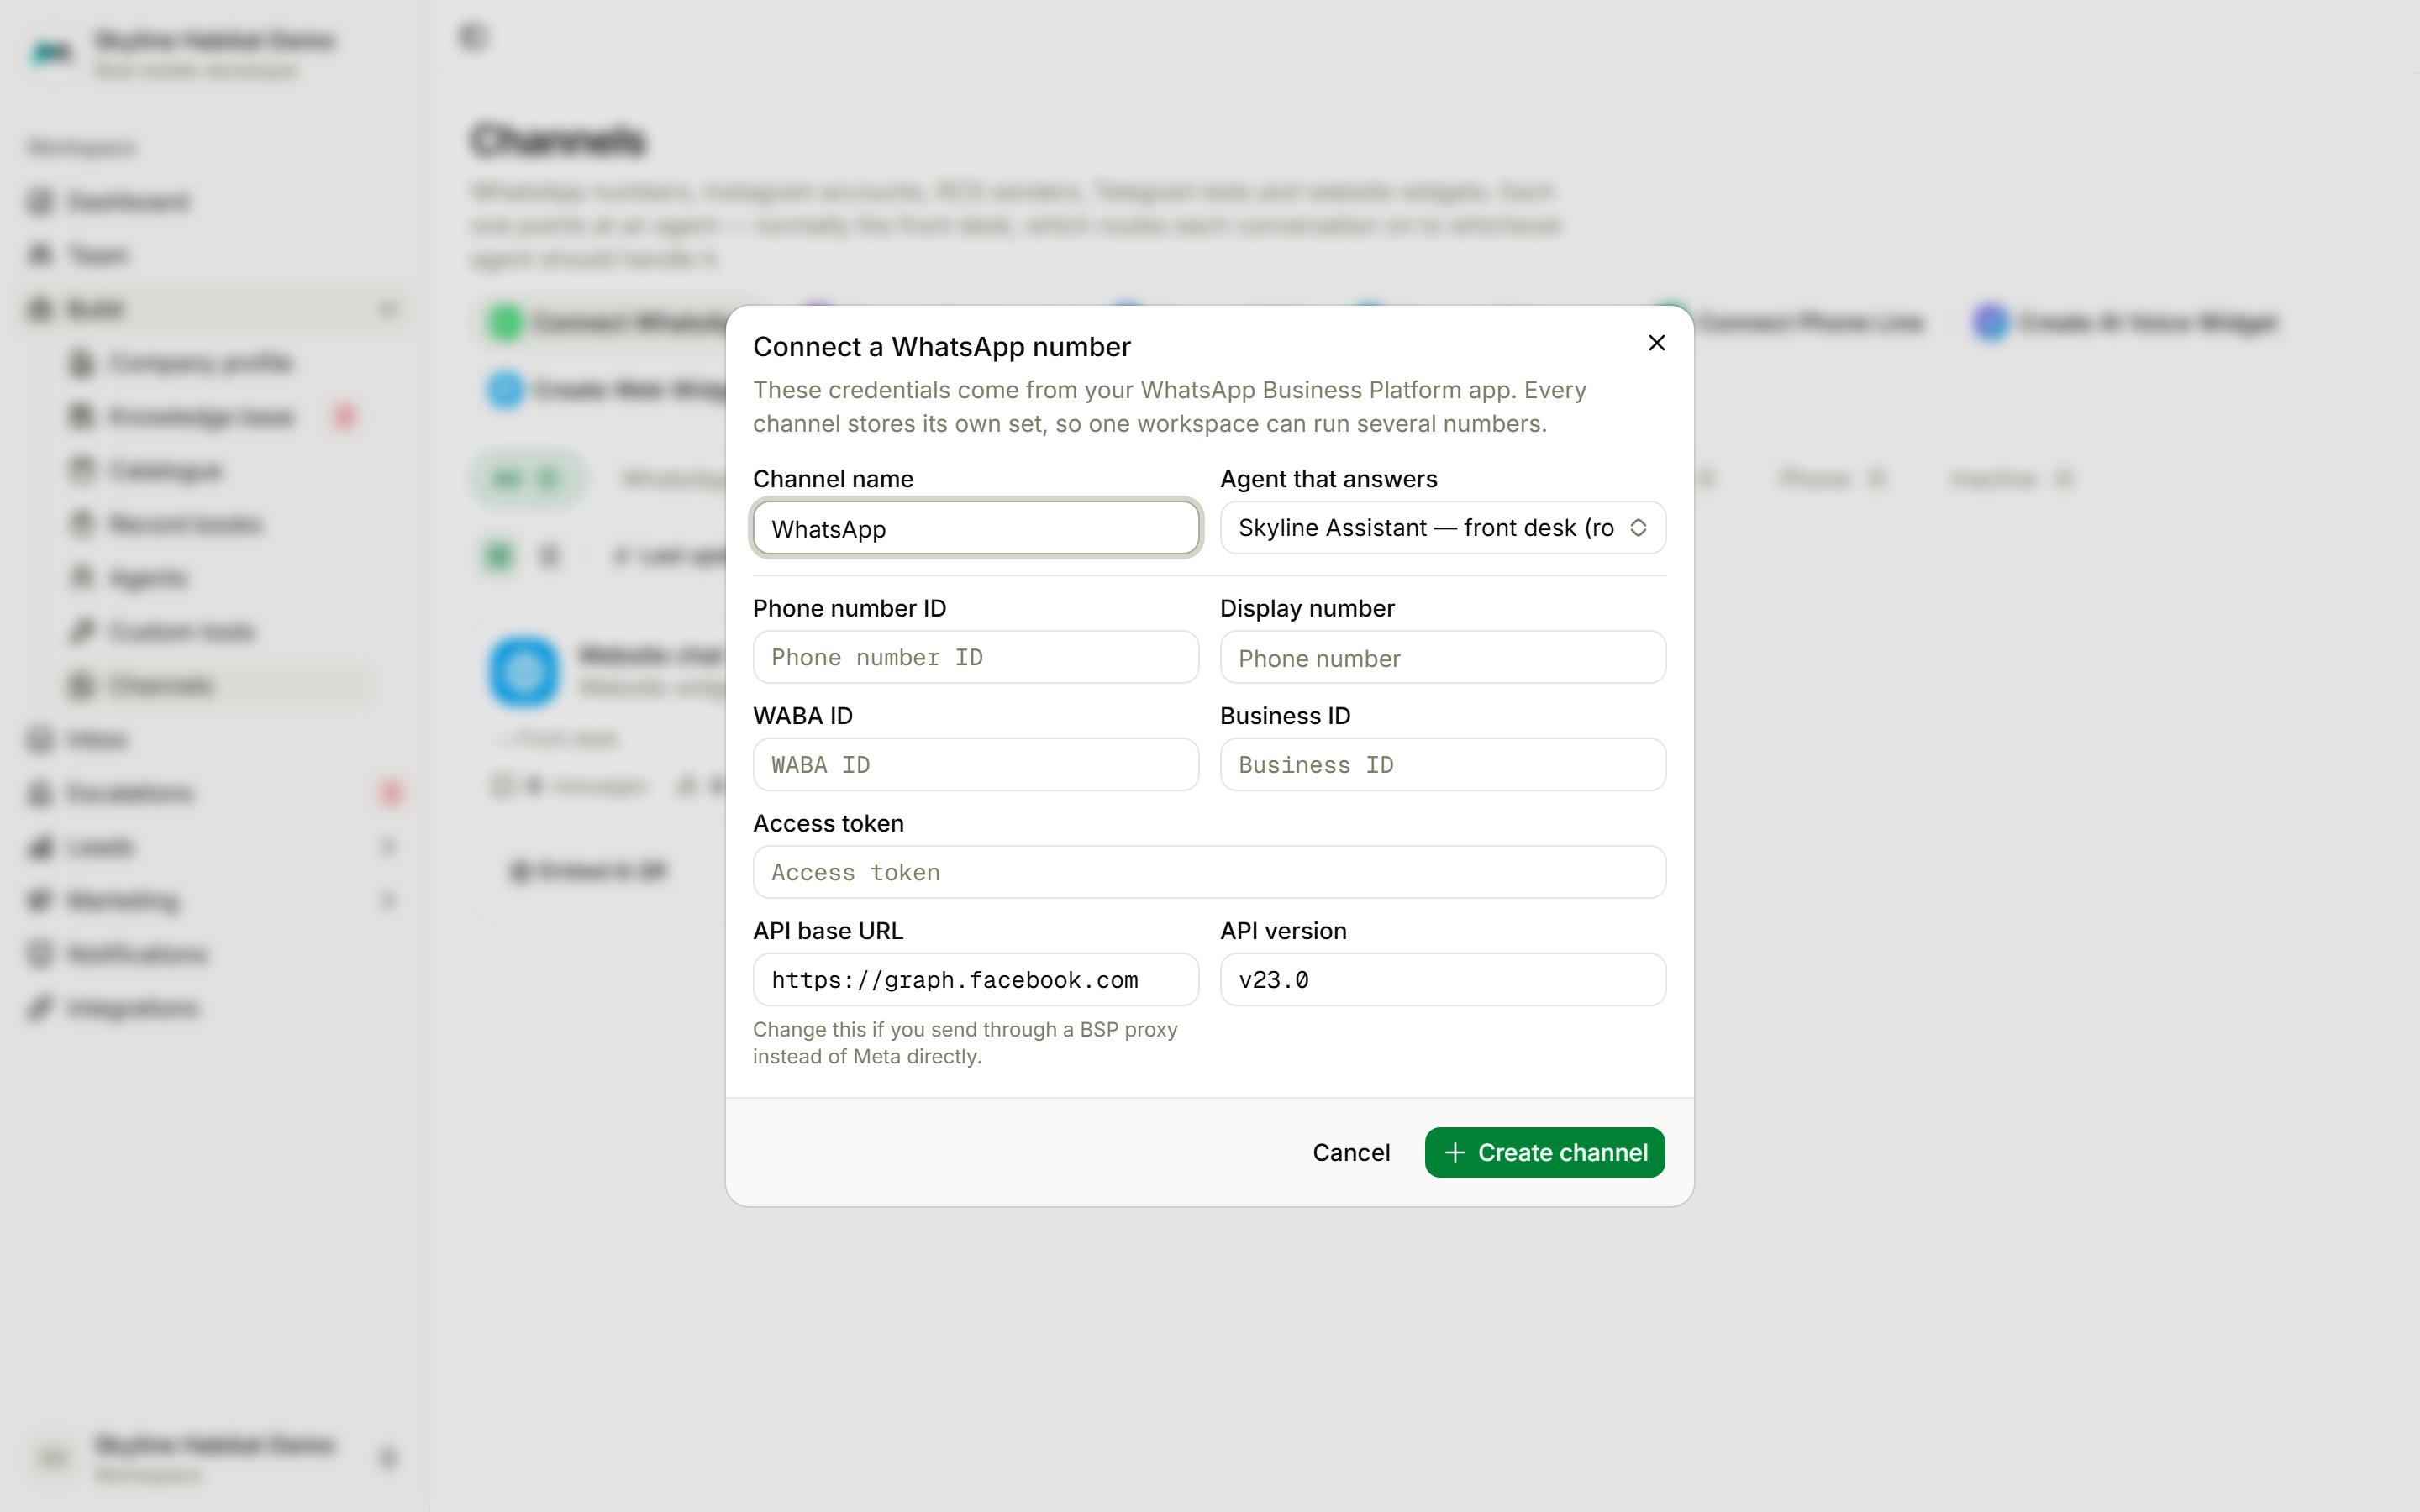
- Choose Connect WhatsApp.
- Fill in Channel name, Agent that answers (or No agent — your team replies from the inbox), Phone number ID, Display number, WABA ID, Business ID and Access token. Change API base URL only if you send through a BSP proxy.
- Choose Create channel, then copy the channel’s Callback URL into your Meta app under WhatsApp → Configuration → Webhooks.
- Choose Connect Instagram, name the channel and pick the agent.
- Choose Continue with Instagram and sign in. Only business and creator accounts can be connected.
- In the Instagram app, turn on Settings → Messages and story replies → Connected tools → Allow access to messages.
Telegram
Create a bot with @BotFather, choose Connect Telegram and paste the Bot token. Magic Agent connects the bot for you, so there is nothing else to set up. Only private chats are answered; groups are ignored.RCS
Choose Connect RCS, paste the token from your RCS provider with the Sender number, then set the channel’s Callback URL as the inbound webhook with your provider.AI voice widget
A glowing sphere on your website that visitors tap to talk out loud, with no chat window. Choose Create AI Voice Widget, pick the agent, animation, position, size, colours, voice, greeting and captions, then paste the embed code. Your site must use https for the microphone to work.Phone line
Connect a Plivo number so callers talk to an agent. Choose Connect Phone Line, enter the number, agent, voice and greeting, then paste the Answer URL and Hangup URL into an XML application in Plivo (method POST) and assign it to the number.Manage a channel
- Accept inbound messages: switch a channel off and on.
- Edit: change the name, agent or appearance.
- Rotate embed code / Rotate callback URL: issue a new one. The old one stops working until you replace it.
- Delete channel: customers can no longer reach you there. Conversations already received are kept.